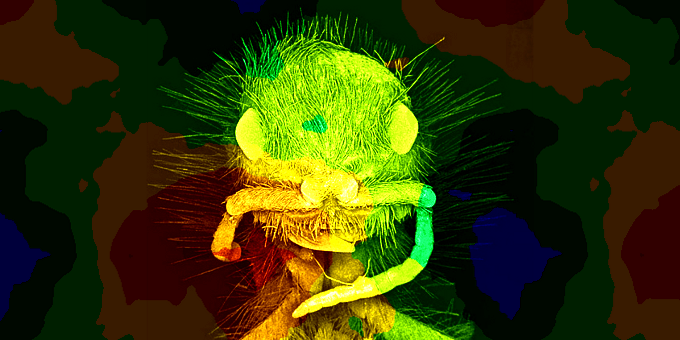
 One of the most visited articles on our site – How to Use Perlin Noise in Your Games – also caused the most problems. The pseudo-code contained an alarming number of bugs (one of the nastier ones is depicted above), which made it difficult to implement. Readers pointed out these in the comments, and so helped to make the pseudo-code progressively more correct. But even so, some operations remained unclear, so that I finally decided to replace the pseudo-code with real and tested code. I really hope that all bugs have now been squashed!
In the spirit of this extermination effort, this article gives some pointers to get a version of the algorithm up and running as quickly as possible. It is an extension of the original Perlin noise article, and refers to the code now presented there.
Common Errors
Some mistakes that are easy to make:
- Swapping rows and columns, and widths and heights.
- Confusing floating point values (in the range 0 to 1) with byte values (in the range 0 to 255). One symptom of this is black images.
- An error in the interpolation.
- Sampling the wrong points.
- Inverting octaves (highest for lowest, and so on).
The following tips will help you avoid these errors, and help track them down faster when they occur.
Implementation Tips
1. Use a non-square image to test
One of the easiest mistakes to make is to swap around widths and heights, or x and y coordinates. Using non-square images will help you detect these errors faster.
2. Implement linear interpolation first
Only once you have this working, you can try other interpolation schemes (such as cosine interpolation). This way there is less risk that the interpolation algorithm is wrong and throws you off the track.
3. Save interim images to file
The smooth noise images are a valuable aid in finding bugs. If they don’t look the way they are supposed to, you know something is wrong. (Below I give some typical examples).
When Things Go Wrong
If you get different results from what you expect, here are some things you can try to help you find the error faster:
1. Check your smooth noise images
Here is how they are supposed to look for different octaves and linear interpolation:
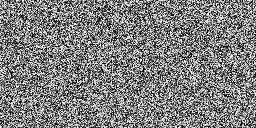 Octave 0 Octave 0 |
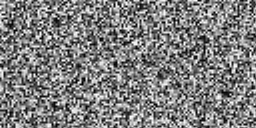 Octave 1 Octave 1 |
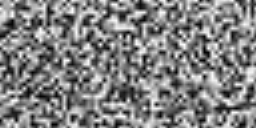 Octave 2 Octave 2 |
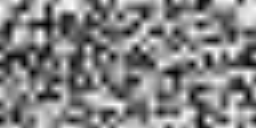 Octave 3 Octave 3 |
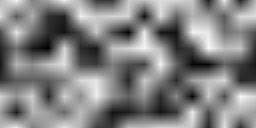 Octave 4 Octave 4 |
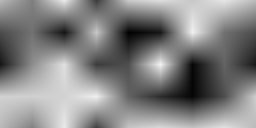 Octave 5 Octave 5 |
 Octave 6 Octave 6 |
Here is how they are supposed to look for different octaves and cosine interpolation:
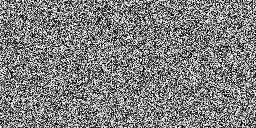 Octave 0 Octave 0 |
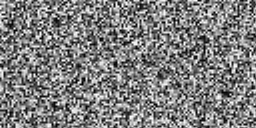 Octave 1 Octave 1 |
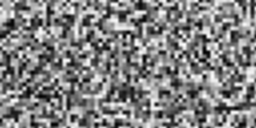 Octave 2 Octave 2 |
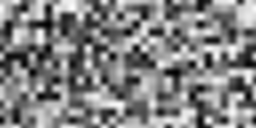 Octave 3 Octave 3 |
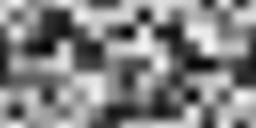 Octave 4 Octave 4 |
 Octave 5 Octave 5 |
 Octave 6 Octave 6 |
2. Check other variables of the smooth noise function by writing them into images
a. Check the blend factors
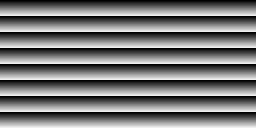
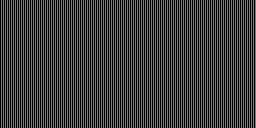
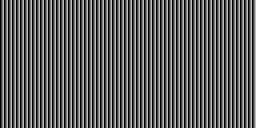
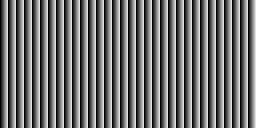
Modify the smooth noise algorithm to save the vertical and horizontal blend factors to an image, like this:
float[][] GenerateSmoothNoise(float[][] baseNoise, int octave) { ... for (int i = 0; i < width; i++) { ... for (int j = 0; j < height; j++) { ... //////////////////// Changed for debugging //smoothNoise[i][j] = Interpolate(top, bottom, vertical_blend); smoothNoise[i][j] = horizontal_blend; } } //////////////////// Added for debugging SaveImage(smoothNoise, "horizontal_blend" + octave + ".png") return smoothNoise; } |
For different octaves, you should get a series of ramps from black to white.
For vertical_blend:
 Octave 0 Octave 0 |
 Octave 1 Octave 1 |
 Octave 2 Octave 2 |
 Octave 3 Octave 3 |
 Octave 4 Octave 4 |
 Octave 5 Octave 5 |
 Octave 6 Octave 6 |
For horizontal_blend:
 Octave 0 Octave 0 |
 Octave 1 Octave 1 |
 Octave 2 Octave 2 |
 Octave 3 Octave 3 |
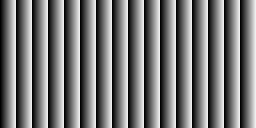 Octave 4 Octave 4 |
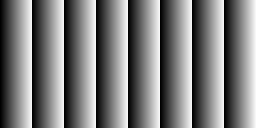 Octave 5 Octave 5 |
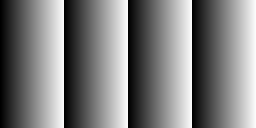 Octave 6 Octave 6 |
b. Check your sample points
Save sample points in an image, by modifying the same line as above to this:
//////////////////// Changed for debugging //smoothNoise[i][j] = Interpolate(top, bottom, vertical_blend); smoothNoise[i][j] = baseNoise[sample_i0][sample_j0]; |
Do the same for baseNoise[sample_i1][sample_j0] and baseNoise[sample_i0][sample_j1], then compare them (it is only necessary to compare one octave – choose one that is easy to see). They should all be the same, except that they are translated by the sample period, as shown below:
 i0 j0 i0 j0 |
 i1 j0 (The same as i0 j0, but translated to the left) i1 j0 (The same as i0 j0, but translated to the left) |
 i0 j1 (The same as i0 j0, but translated to the top) i0 j1 (The same as i0 j0, but translated to the top) |
3. Check that your smooth noise is blended correctly
- Change your base noise to pure white. The resulting image should also be pure white.
- Change your base noise to pure black. The resulting image should also be pure black.
- Check your resulting Perlin noise for different persistence values.
Here is how the images look for different persistent values and linear interpolation.
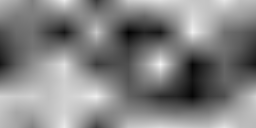 Persistence = 0.1 Persistence = 0.1 |
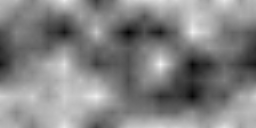 Persistence = 0.3 Persistence = 0.3 |
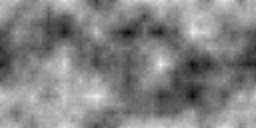 Persistence = 0.5 Persistence = 0.5 |
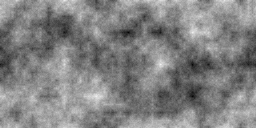 Persistence = 0.7 Persistence = 0.7 |
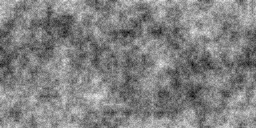 Persistence = 0.9 Persistence = 0.9 |
Here is how the images look for different persistent values and cosine interpolation.
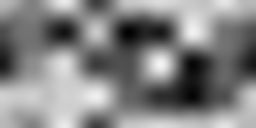 Persistence = 0.1 Persistence = 0.1 |
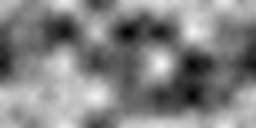 Persistence = 0.3 Persistence = 0.3 |
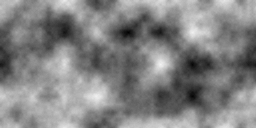 Persistence = 0.5 Persistence = 0.5 |
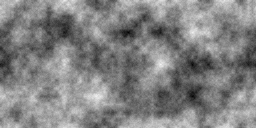 Persistence = 0.7 Persistence = 0.7 |
|
|
 Persistence = 0.9
b. Check you sample points
You should change that to “your.”
As always, thank you 😉
I suppose the code you corrected is stored where the other original post links, isn´t it? or is it here… i can´t see it.
Yup, I updated the code with the original article.
Pingback: How to Use Perlin Noise in Your Games » devmag.org.za
Pingback: Minecraft-Clone – Part 2 | LearningGeek Blog
quality:
a = (b[i+2] – b[i+1]) – (b[i-1] – b[i]); // bicubic interpolation
b = (b[i-1] – b[i]) – a;
c = b[i+1] – b[i-1];
d = decimal value
output = ((a * d + b) * d + c) * d + b[i];
a = (3 * (b[i] – b[i+1]) – b[i-1] + b[i+2]) * 0.5; // hermite interpolation
b = b[i+1] + b[i+1] + b[i-1] – (5 * b[i] + b[i+2]) * 0.5;
c = (b[i+1] – b[i-1]) * 0.5;
d = decimal value
output = ((a * d + b) * d + c) * d + b[i];
Pingback: Unity Learning Resources – Next Numen